Stamping Coloring Techniques

Break Out the Colored Pencils

Add Beauty With Watercolors

Try Two Ink Colors

Bring in Color With Markers

Chalk and Watermark Ink

Metallic Embossing

© 2024 LoveToKnow Media. All rights reserved.
In addition to her interest in scrapbooking and origami, Dana is experienced in rubber stamping, card making, and decoupage. She also enjoys jewelry making and loom knitting.
Learn about our Editorial Policy.

There are many different rubber stamping coloring techniques you can use to add interest to your stamped images. By experimenting with different methods of stamping, you can create a number of looks from the same rubber stamp. This lets you get more use from your existing craft supplies, since you can use your stamps to create note cards, enhance your scrapbook layouts, and even decorate gift wrap.

Use colored pencils to color in your design. If you don't have any in your craft area, swipe some from your kids! Keep these tips in mind:

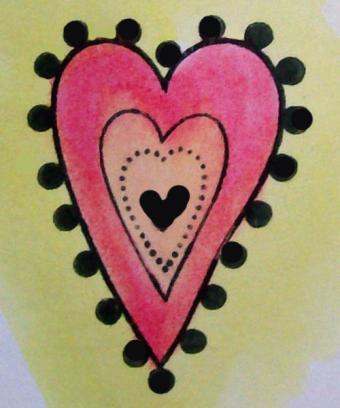
Dig out your watercolors and paint your stamped image. Don't worry about being perfectly neat; part of the appeal of this technique is giving your stamped image a more "homespun" look. These tips can help:

One of the easiest rubber stamping coloring techniques is to simply stamp with two different colors of ink. Choose colors in the same general family for a nice blended look. You can use a small ink pad to place the ink just where you want it on the stamp, or you can simple ink part of the stamp on a larger pad.

You can also color your stamp with markers. Do this instead of using an ink pad if you want a lot of colors and need to highlight some specific details. Keep these tips in mind:

If you want a dimensional colored design, you can stamp with VersaMark watermark ink and then apply colored chalk over the image. The watermark ink is so sticky that chalk will stick to the places you stamp. Tap off the excess chalk and wait for the ink to dry completely before you touch the design.

Use metallic embossing powder to give your image a dramatic look. Embossing is a great technique to learn, and you'll find it adds a beautiful touch to all your rubber stamping projects.
No matter which rubber stamp coloring technique you try, you'll love how creative you can be by adding color to your paper crafting. Experiment with lots of methods and shades to figure out what you like best.