How to Make Beaded Bookmarks

Step 1: Choose Ribbon or Cord

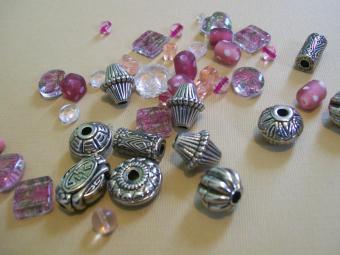
Step 2: Select the Beads

Step 3: Tie a Knot

Step 4: Add the Beads

Step 5: Finish the Bookmark

© 2024 LoveToKnow Media. All rights reserved.

Learning how to make beaded bookmarks provides a fun break from the standard jewelry making projects. Since beaded bookmarks require only a few different beads, they are also a good way to make the most of your excess supplies. Make bookmarks for yourself, or tuck them between the pages of books you plan to give as a gift.

To learn how to make beaded bookmarks, you'll need approximately 20 inches of ribbon, yarn, hemp cord, or other material suitable for stringing beads. Craft stores such as Hobby Lobby have a number of different options available in the jewelry making, scrapbooking, and knitting sections.

A beaded bookmark requires only half the amount of beads you'd need to make a beaded bracelet. However, beads with larger holes work best for this project.

Tie a knot roughly three inches up one end of the bookmark.

String the beads for approximately 2 inches. Tie a knot at the end to secure and trim the edges if necessary. If you're using ribbon and you are worried about fraying, coat the edges with a dab of clear nail polish.

Make a second knot about 10 inches from the top of the first knot. String beads for about 3 inches, then tie a knot to secure and trim the edges if necessary. This will be the bottom of your bookmark, so feel free to be creative and use shaped beads or charms to give your project a dramatic look.
Need some fun beads for your project? Check out our tutorial slideshow on How to Make Paper Beads to learn how to turn paper scraps into unique beads.